So, me being the type of person to run before I can walk, I embarked on my first proper cross stitch project of my own!
This is the design, all ready to stitch with DMC threads:
Its my Mother and my Step-Dad on their wedding day last year! I adore this picture and their entire wedding was vintage themed, with vinyl and cupcakes and a rock 'n' roll band. I thought what better than to cross-stitch their photo to enjoy for years to come?
So a few weeks have passed and I've been trying to do a 10x10 square a day. I'm not doing so well, but after learning the "parking method", my stitching has sped up tenfold! As you can see from the pattern, in 100 crossstitch squares, there can be 30 or 40 colour changes! So parking has suited me very well.
Here is some progress pictures, and how my "cross stitch caddy" is set up!
I have approximately 27 colours, and many more skiens in storage just in case I run out! My caddy has removeable sections which is really useful, as I've made a little bin for my waste threads, and a section for my pens, needles and scissors!
This is the first (and smallest!) page I'm doing, as it starts in the top left. I didn't like the idea of starting in the middle and spending months rubbing my wrists over finished needlework and making it tatty!
I do try to wind my bobbins neatly but sometimes it just doesn't happen!
I used a thin sharpie to write the symbols and numbers on the bobbins, this helps for quick selection. As I'm using at least 10-12 colours at a time, I like being able to quickly find a colour bobbin and check it against the thread to make sure I'm using the right one!
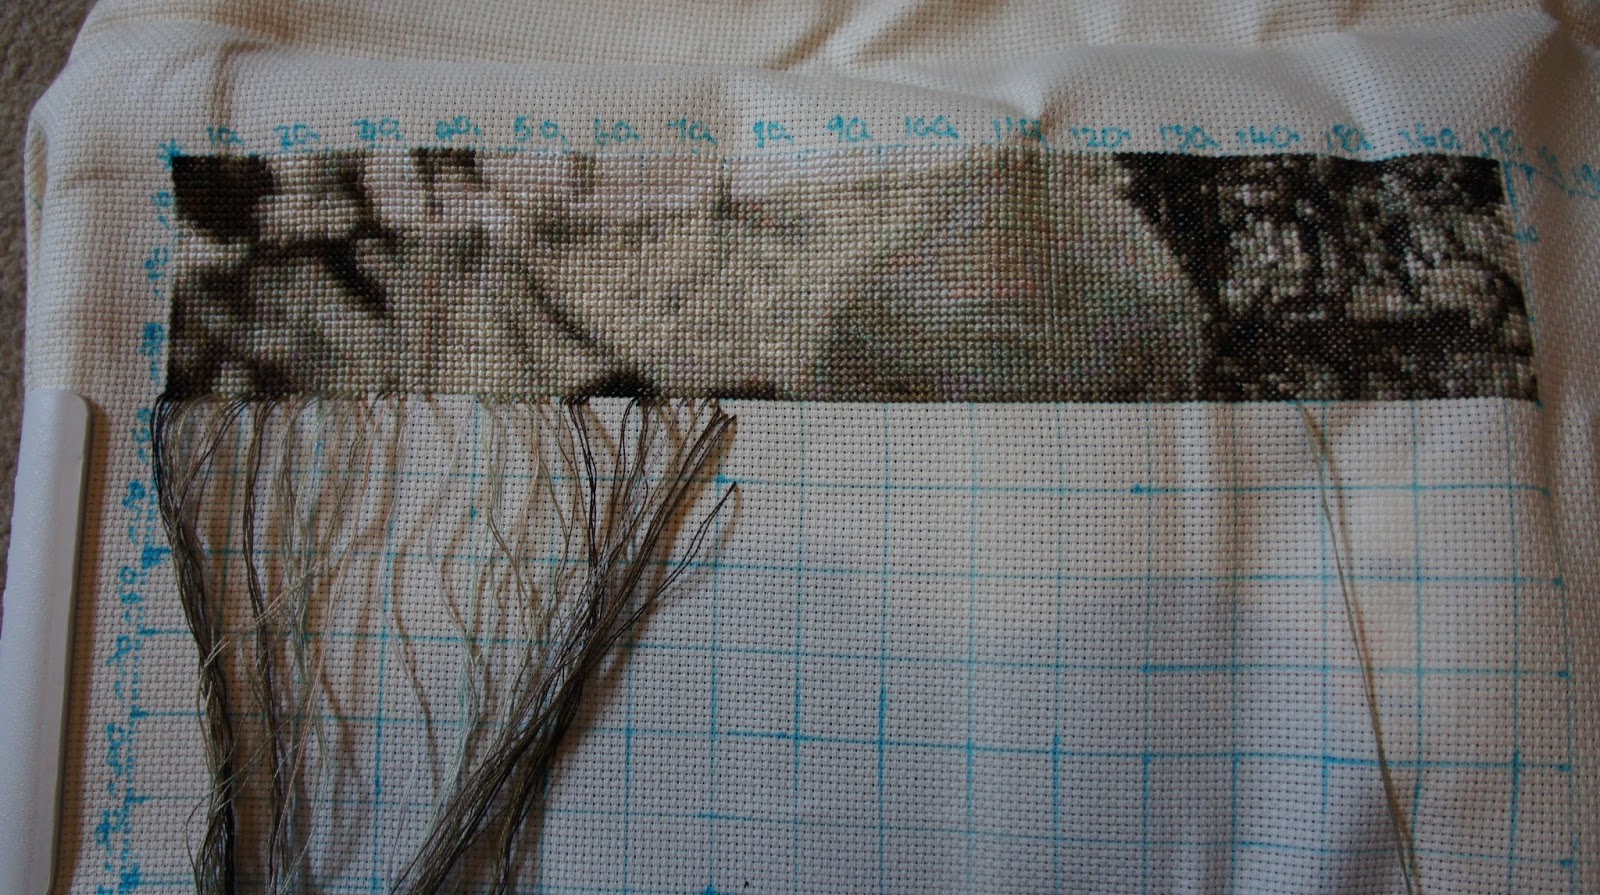
1500 stitches so far (I think!) if you compare it to the picture above you can see it coming together! I gridded with a wash away marker, that will disappear when I wash it (or I hope so, otherwise tears will be shed and tantrums had!)
I'm using an R&R Frame, which is a plastic snap frame to hold your embroidery. In the US a similar brand is Q-Snap! I really recommend these as you can keep them in the frames for long periods of time, and unlike embroidery hoops, doesn't leave harsh line marks!
I'm using the largest size available, 17" x 17" which is quite unwieldy to be honest, but I've gotten used to it, and I like being able to eventually see the entire cross stitch on it! My local needlework shop has ordered in some smaller sizes for me for future projects, as I can't see myself going back to hoops after this!
Thankyou for looking!